Showing posts with label made it. Show all posts

Monday Made It: Chart Stands

Over the weekend, my marvelous husband helped me build a new clip chart stand and repair a broken pocket chart stand. I am so pleased with the results! Read on to learn how we made these stands awesome!

Behavior Management Clip Chart Stand

I got this new behavior management clipchart from Teaching with Love and Laughter. You can actually get he beautiful clipchart on her facebook page as a Freebie - isn't she sweet?!? Her TPT store is HERE where you can get calendars to go with the clipchart. You can also click the button below to visit her blog. But before you go, read on to see how I solved the problem of having no good wall space in my classroom to hang my new clipchart!

What I wanted to make was a free-standing, sturdy, non-topple-over-able stand. My husband and I went to Lowes and bought a 5 gallon plastic bucket with a lid, two 1x2x8' wooden poles, and sand. We cut the two poles tall enough to stand in the bucket and hang the clipchart from them, with support beams going across. We also put a piece of wood flat on the bottom to help hold it steady. Then, the bucket will have sand added, lid snapped on, and ta-da there you have a clip chart stand! We made it in maybe 30 minutes? That included dig out the tools and remember how to load the staple gun time. This design is SO sturdy! My husband was like "Can I make and sell these?!?" Can't wait to see how it looks in my classroom. I do still want to paint the wood blue and am considering covering the bucket where it says "Lowes." Spray paint, maybe? Duct tape?

Repair a Pocket Chart Stand

I had purchased this clothing rack to use as a pocket chart stand three years ago. It was only about $35 and handy to grab at my local Walmart. Last year, the plastic joints failed and the whole stand would come crashing down! It was awful! My husband can fix anything with a drill though, I think! So, I recruited his help to repair it, because I don't want to buy another one!
Here is the equivalent rack that Walmart sells now (click the pic to check it out): Rolling Adjustable Garment Rack
First he drilled holes in the top piece so the vertical bars could be secured inside the metal pole running across the top. 

Then he put screws through the plastic support bars on the bottom so they cannot pop back out:


This was where I had tried to fix part of it with masking tape (all I had in my classroom handy):


I covered that damaged, cracked part with pretty teal duct tape! This was purely a cosmetic touch, though!


Now I could just about hang from this pocket chart stand because it is so well stuck together! See, broken things can be fixed! Yay! That saves me some money!


Thanks for visiting my blog!
-Mrs. Cobb
Follow on Bloglovin Photobucket

Monday Made It 5

 
4th Grade Frolics!
Wow, it is hard to believe that today is the first day of school in my county! Last week was a busy week of finishing up my classroom and planning for the year ahead, and now it is time to begin. Then, next week I start my Master's coursework. >.< 
With all the work at the school this week, I wasn't too crafty. I did make a pretty pennant banner for my student work bulletin board though! It is now my "Wall of Wow!" I used the same big fat scrapbook paper stack that I have done several crafty projects with to cut out the letters on my cricut and glue them on triangles. Then, I laminated it, punched holes, and strung it on to pretty ribbon. It turned out very nice looking!

In other news, Rosco the pug has been struggling with fleas and trying to eat his hindquarters off, so he has been wearing a cone a lot. Smokey has been getting adventurous and tolerating being in the same room as the pug. We're a little in shock at this behavior development.


Have a fantastic week and wish me luck as I get to know my new class!
Thanks for visiting my blog!
-Mrs. Cobb
Photobucket

Craft Time with Carol


I have been eager to link up for Monday Made-It, 

 4th Grade Frolics!


but this week crafting happened on a Thursday night. I am really excited about the things I made, so I wanted to go ahead and share! I had a couple friends over, Danielle and Carrie, who were redecorating some Converse's to be Doctor Who shoes.

Doctor Who shoes from the back...
Danielle and Carrie showing off the shoes!
Me painting away! I love painting! :)


 I figured it was the perfect time to knock out some of my to-do list classroom craft projects! Check out my four projects below and then tell me which one you'd like to make for your classroom. 


Chicka Chicka Boom Boom Alphabet Match Game - 2 Game Boards!

Just starting to paint the leaves in...


For this project, I used poster board, pretty paint, and shiny letter stickers from the Target Dollar Spot! My students will draw a token with a letter sticker on it and place it on the matching letter on the tree if they can name the letter and/or sound.
Here is how I made it: 
  1. Draw the tree in pencil.
  2. Paint the leaves a few different solid shades of green.
  3. Paint the trunk dark brown. Put coconuts around for a border!
  4. Let dry, then add A-Z stickers all over the tree!
  5. Add A-Z stickers to tokens (I need to go grab some of my red/yellow two sided tokens from my classroom. I'll have stickers on the red side for one game board, yellow side for the other game board.

Magnetic Ten Frames

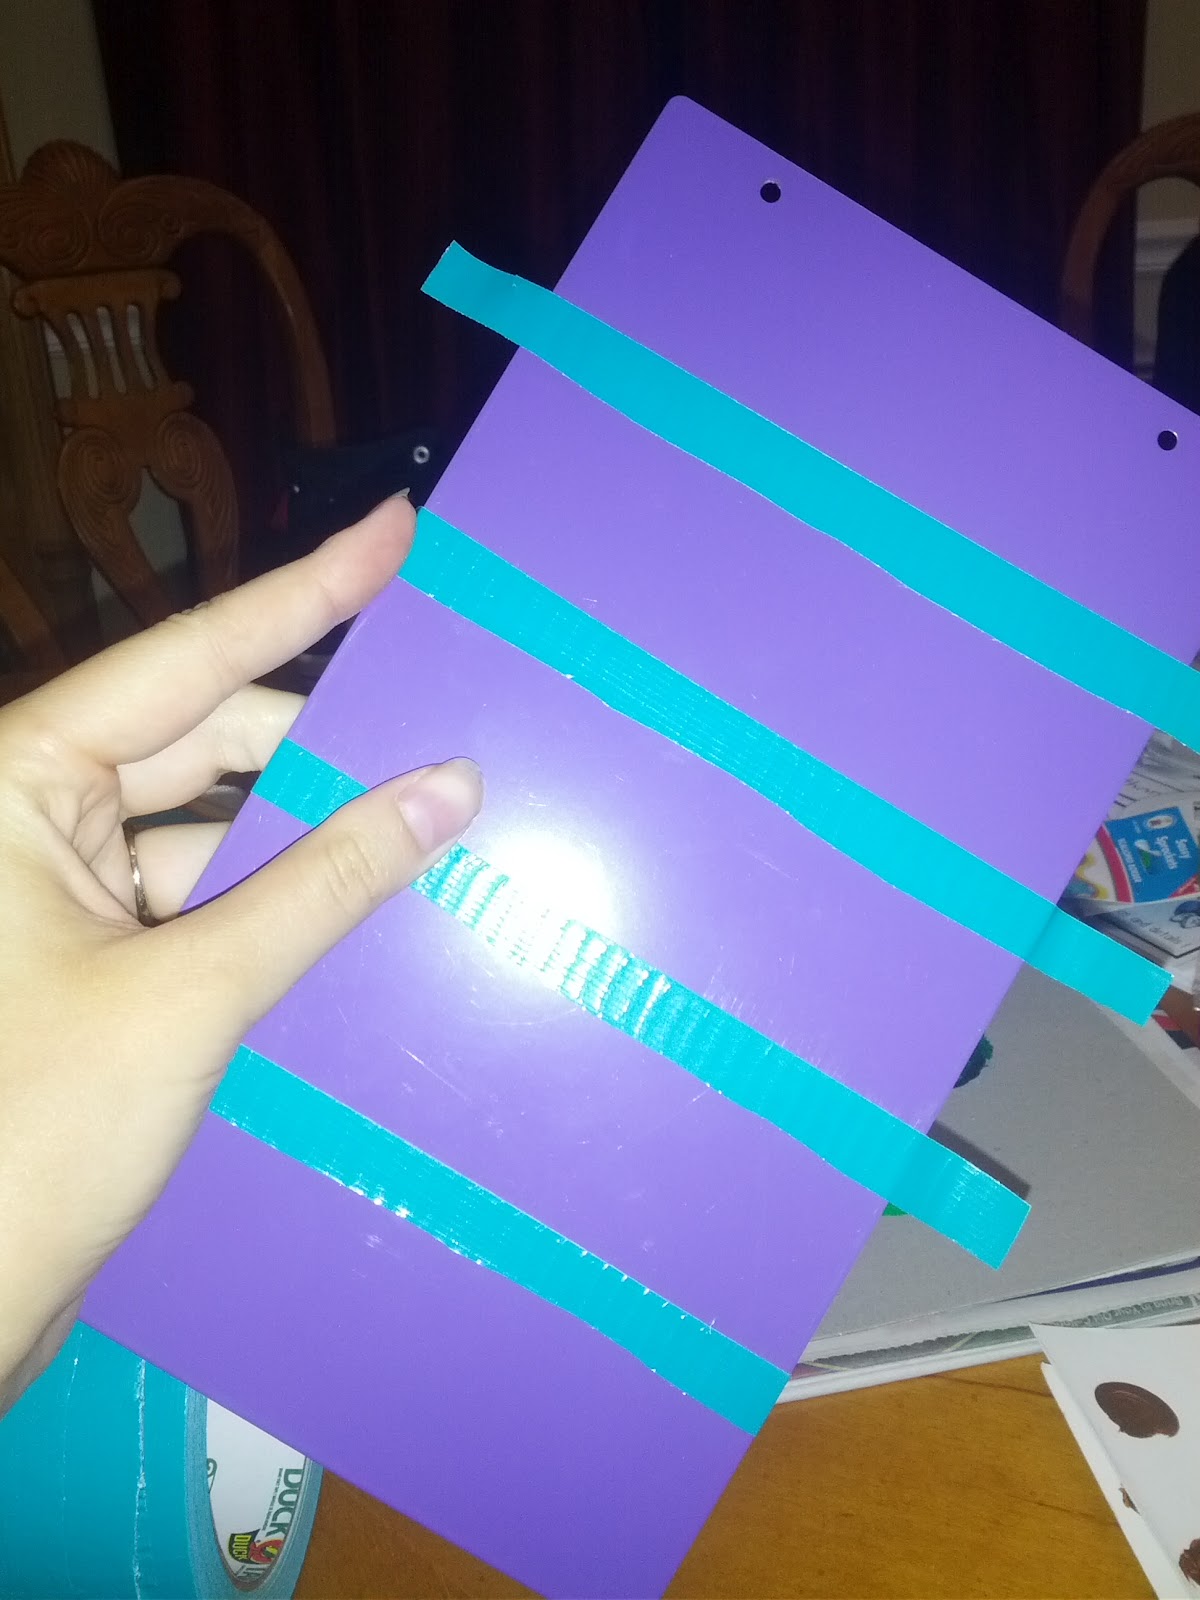
Target not only had great letter stickers, they also had these magnetic rectangles in the Dollar Spot. I saw them and instantly knew what I would turn them into!
1. Take off the existing ribbon.
   
2. Cut a roll of beautiful duck tape in about 1/4 inch stripes. If you can slit through a couple layers with a razor, it will rip that width for awhile! I got my dear husband to do that, I am too clumsy! Aww, Rosco's cute little pug tail made it in this picture!

3. Apply duck tape across the middle, evenly spaced, four times short-ways. It's ok if it is not cut perfectly straight, the wobbliness is kinda cute!

4. Apply duck tape down the middle long ways.

5. Make a duck tape border, folding over on to the back. Ta-da!
6. You can use whatever magnets you like, but I got these shiny stones that I am applying magnets to the back of, once I find some magnets...

I will be putting three of these under my calendar and we'll make the date on them. 
Here is today's date, and the beautiful new border that will be going on my bulletin boards!

 July 13th!


We'll use the other one during number talks to show what we think the number is that I flash to them on a ten frame. Examples....
My favorite number:

Funky Five:

What do you think? Cute or what??? I LOVE these!

Pencil Bucket UPGRADE!

Again at Target in the Dollar Spot, I found a big fat pencil bucket with my favorite color on the bottom. Otherwise pretty bland though. I knew I'd be picking up ribbon to match my new color scheme though, so this pencil bucket got a facelift!
New Color Scheme!
 
Bucket + Ribbon= beautiful!
First I hot glued ribbon flat around it. Then, I consulted youtube for how to make a cute little bow.
I hot glued the bow on. Now I am keeping my eyes peeled for a just right accent to go above the bow. Or I might leave it as is. 

A simple quick project - Puzzle Baggies

This really does not equal a craft project, but if you struggle with maimed puzzle boxes, try cutting out the image of the completed puzzle from the box, and then stick it and all the pieces in a ziploc bag. Slider bags are really the best. Target has these puzzles in, you guessed it! the Dollar Spot.


Ya'll don't forget to chip in some ideas for my TPT giveaway here: calendar-dilemma-upcoming-giveaway
Thanks for visiting my blog!
-Mrs. Cobb
Photobucket